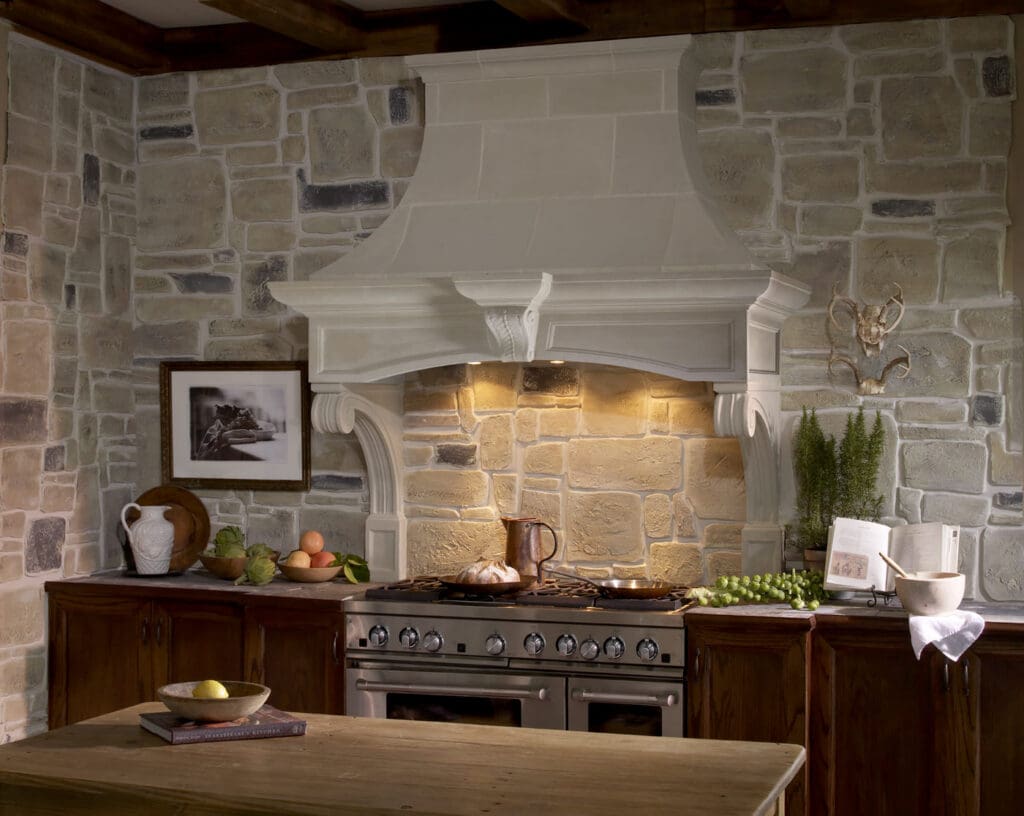
At Old World Stoneworks, we specialize in crafting high-quality
cast stone mantels and
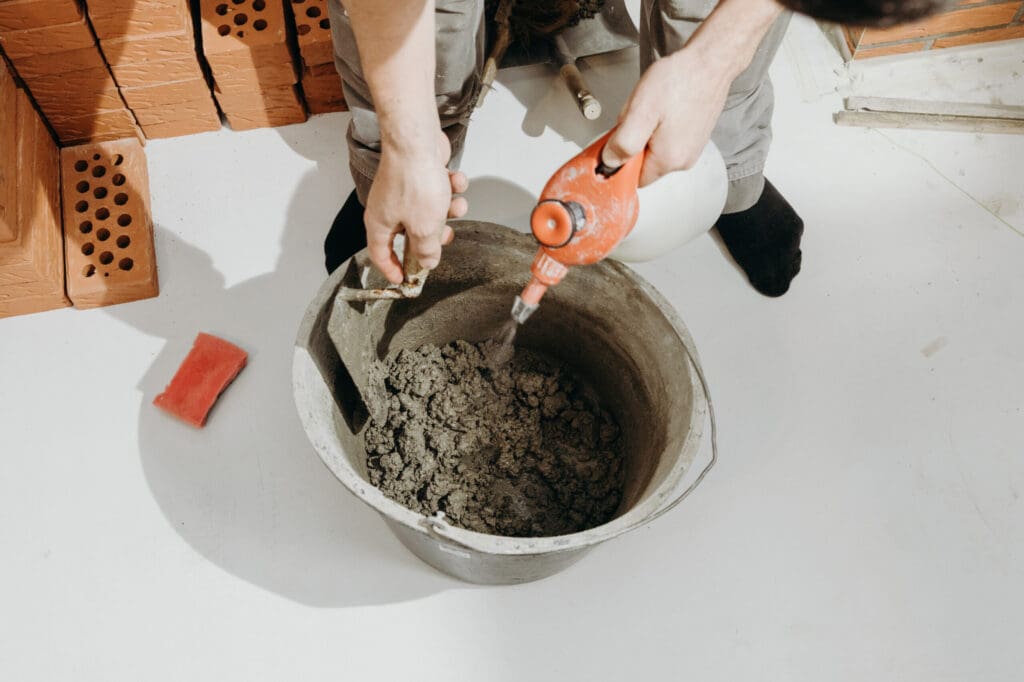
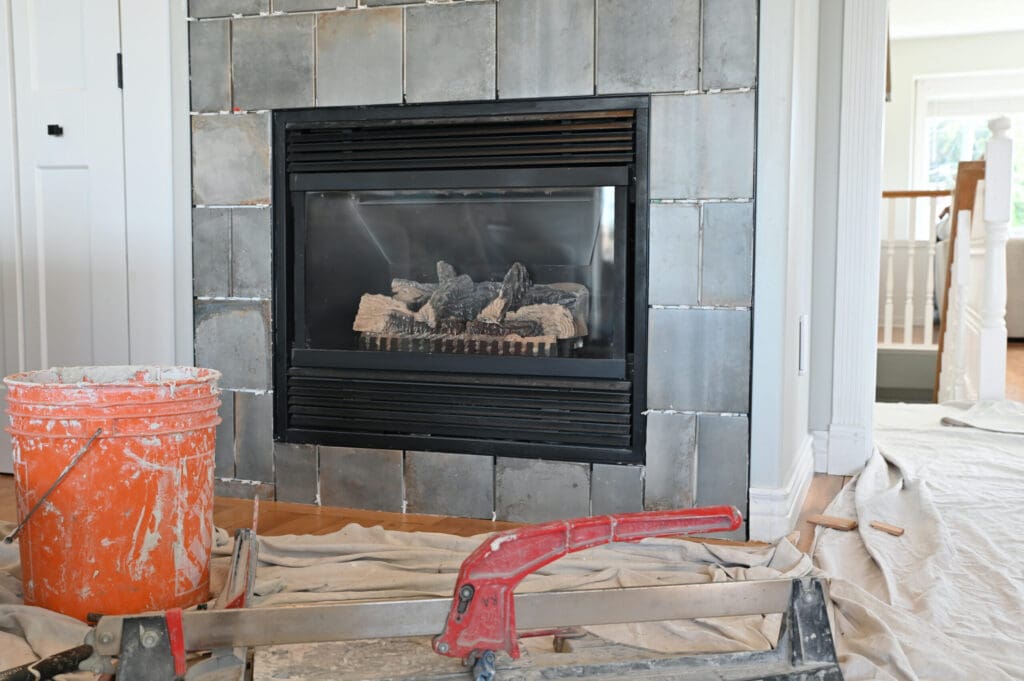
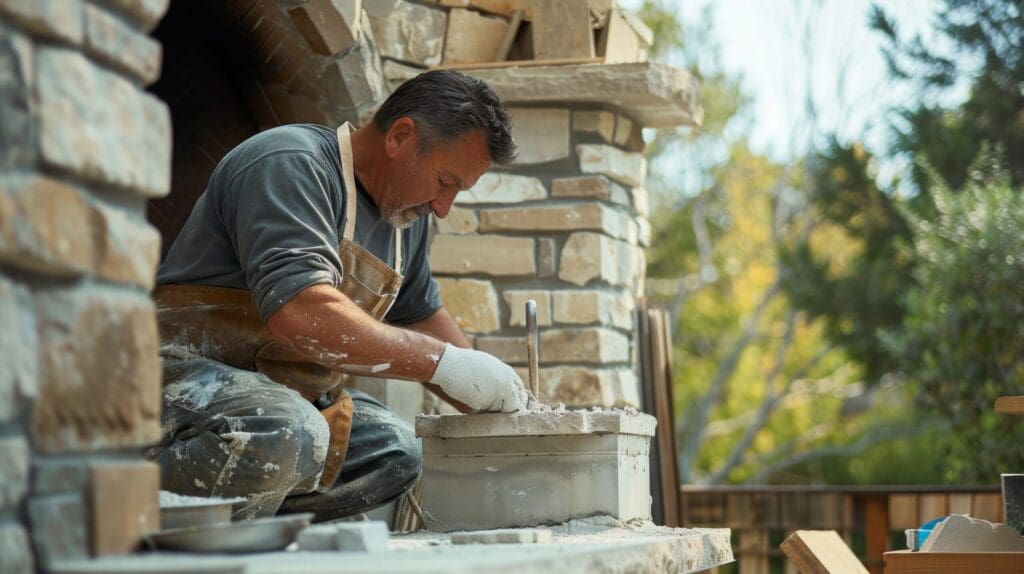
range hoods that combine elegance with durability. If you have any questions about grouting or need assistance with your fireplace project, we're here to help.
Contact us today to speak with our experts and discover how we can bring your vision to life. Whether you're starting a new project or looking to enhance an existing one, we're committed to providing the support and quality you deserve. Let us help you create a fireplace that will be the centerpiece of your home for years to come.