Mantel Installation
Please view our grouting video prior to watching our mantel installation video as it has our most current recommended grouting method.
This full-length installation video can be used by homeowners, masons and other installers.
Installation Instructions for Cast Stone Mantels
Installation should be done by a professional mason. Individual stones are heavy and may need two or more men to lift some of the pieces. Extra caution should be taken as dropping or lifting these stones can cause personal injury or death. Please check with the packing information for stone weights. The edges are fragile, extra precaution should be taken not to rest weight on them. There are many acceptable alternative methods for installation and we certainly do not mean to imply that this is the only way. Old World Stoneworks is not responsible for the quality or safety of the installation.
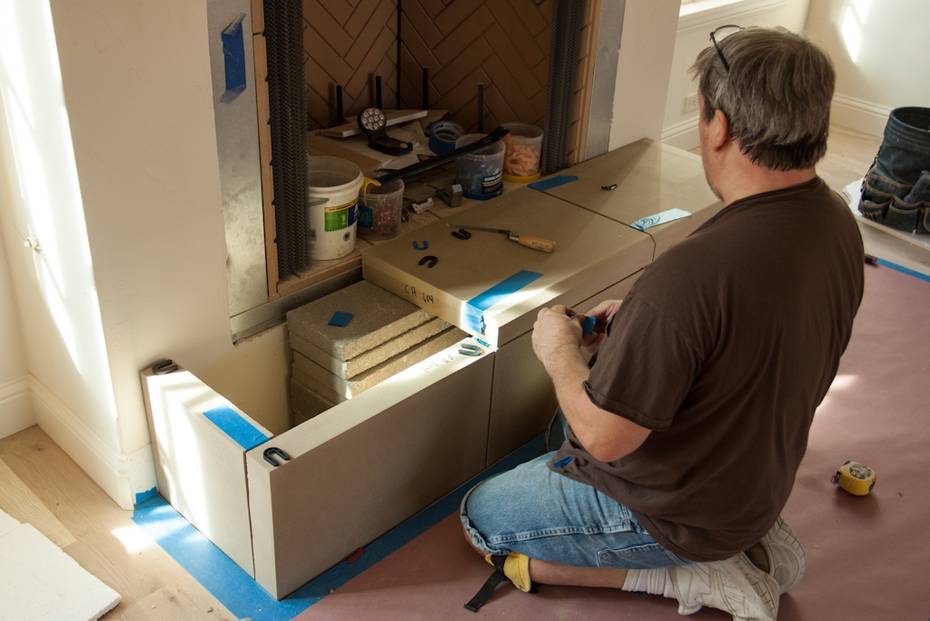
The first step in the installation process is the unpacking of the stones. This is a very important step. Being very careful with edges and corners, lay out all pieces on styrofoam, cardboard or plywood, checking for any damage that might have occurred during shipment, but most importantly to check and verify that the dimensions are correct. It should be laid out with ¼” spaces between stones.
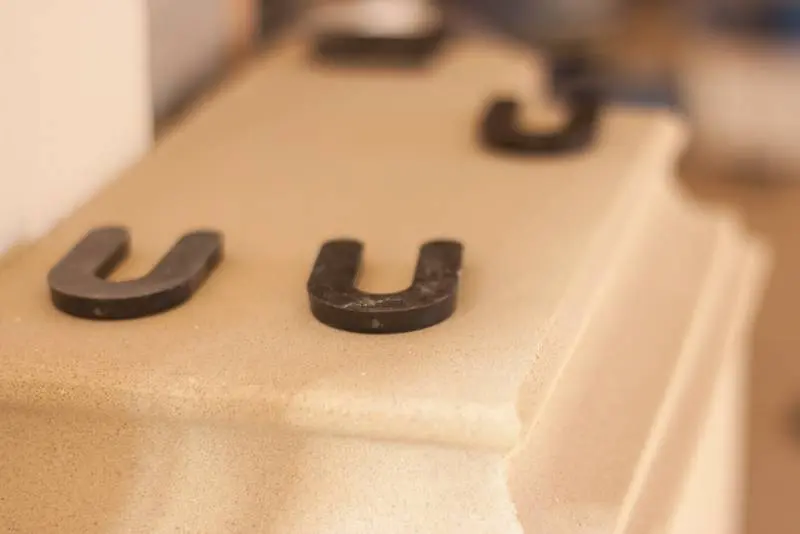
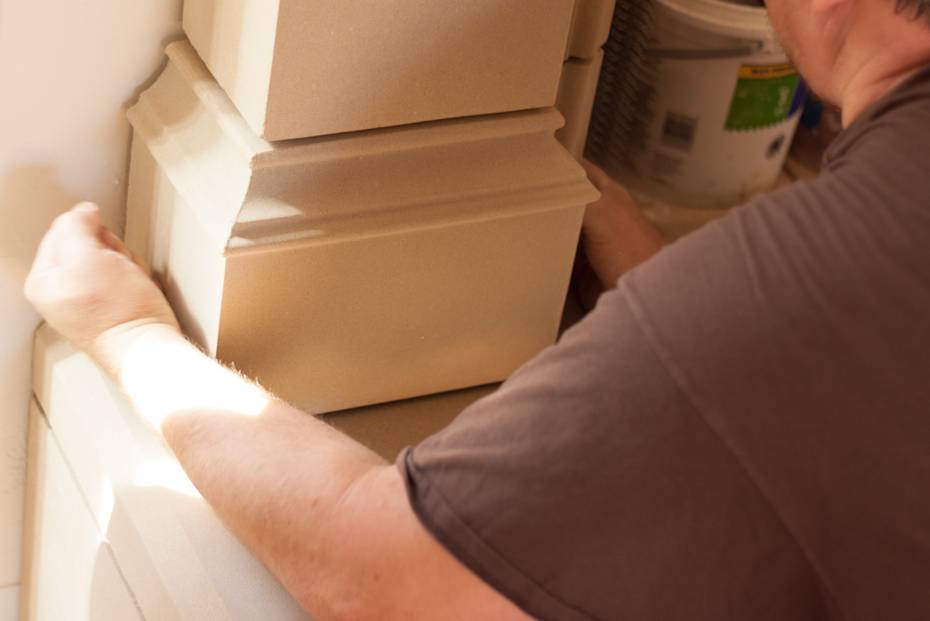
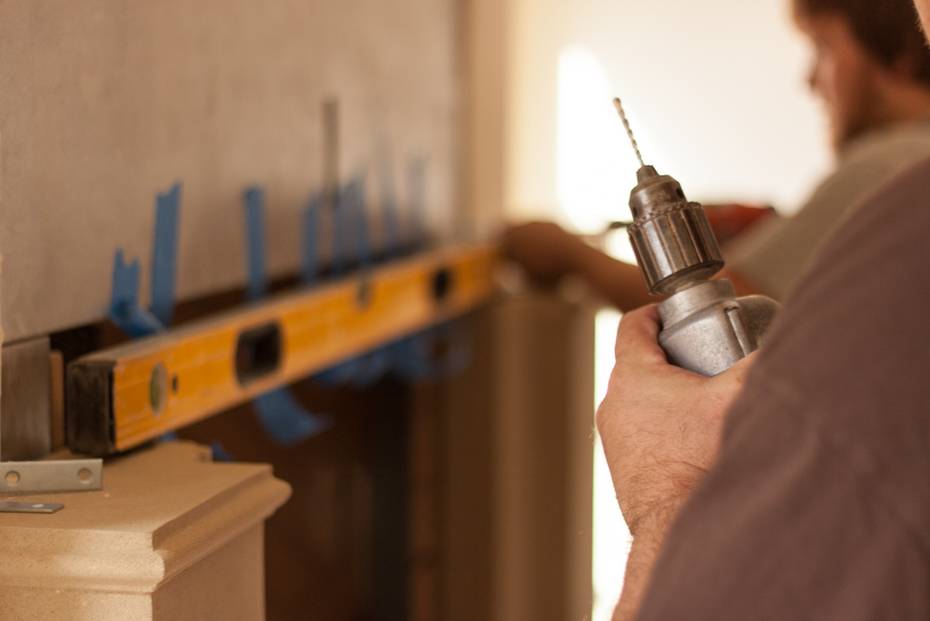
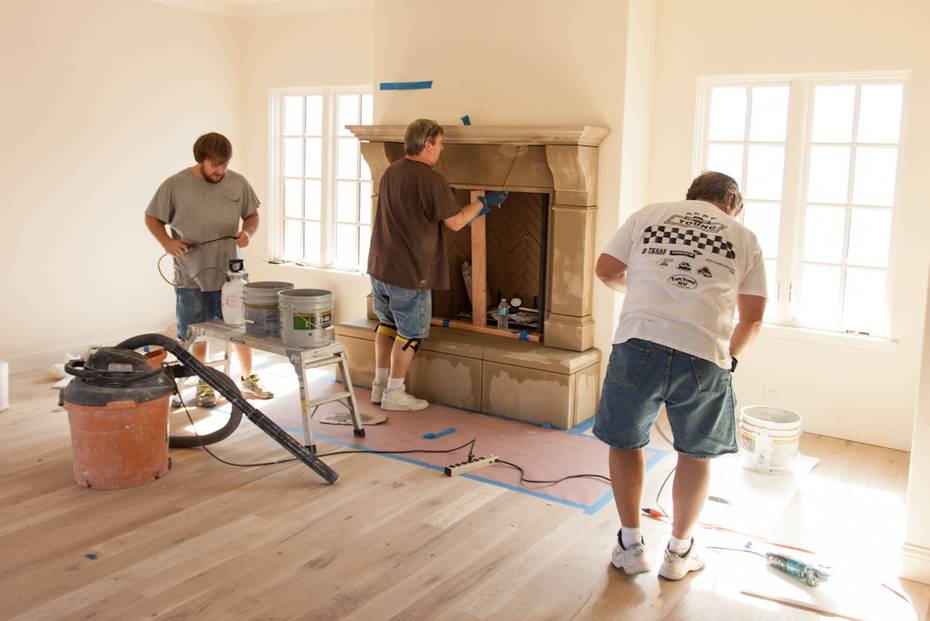
Installation is handled like any installation of exterior cast stone. We suggest using brick ties or “L” brackets to anchor to wall, screw brick ties or “L” brackets into stone with masonry screws. If you install to drywall make sure to anchor into studs. Use mortar between stones and between stone and wall. Use 1/4 inch wood shims or plastic shims between stones to make joints equal. Level each piece as you go up. Some of our mantels with heavy upper parts work better if the first parts laid have a chance to dry before installation of heavy upper parts, this is especially true of mantels with overmantels.
Grouting Cast Stone Mantels
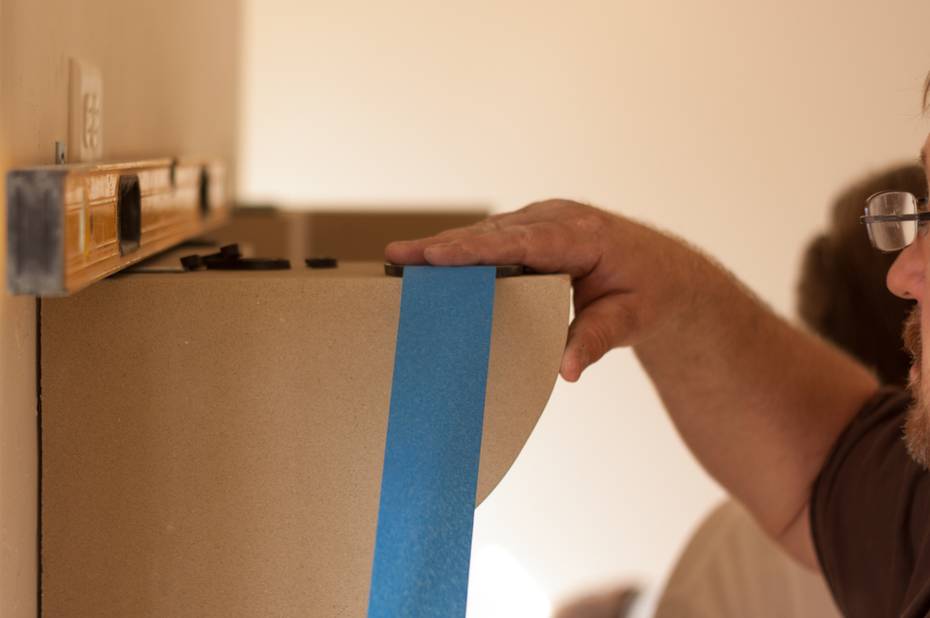
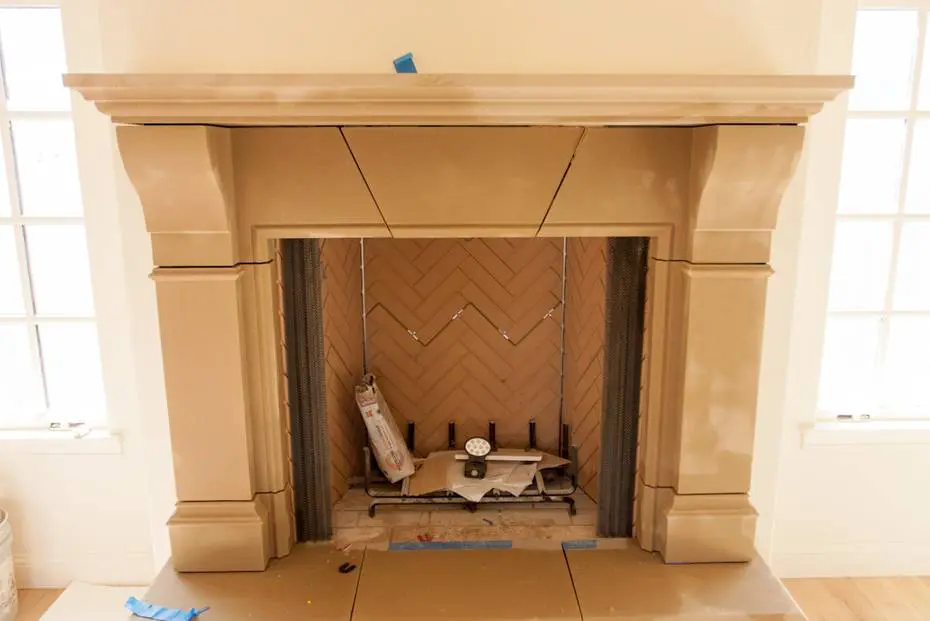
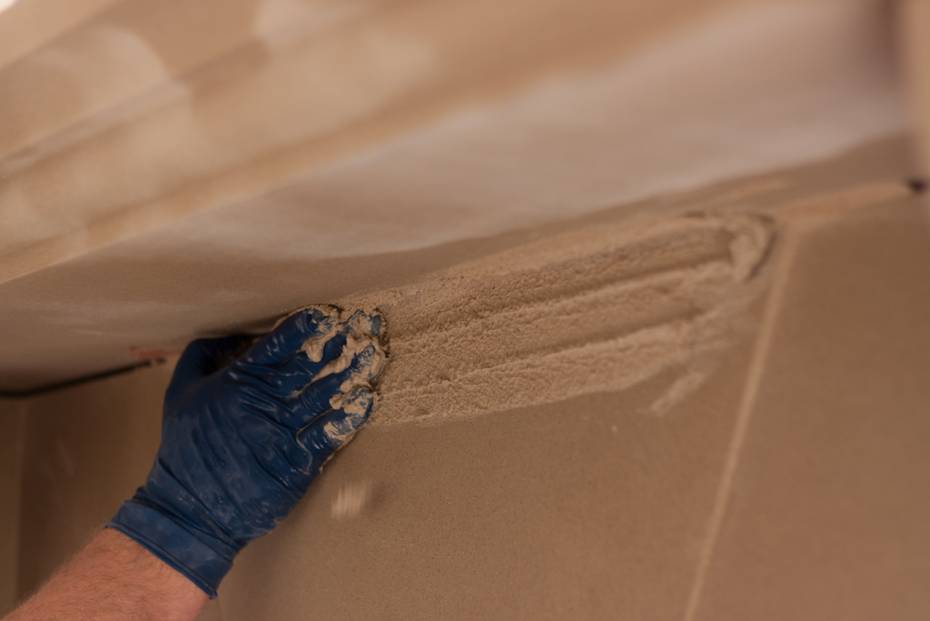
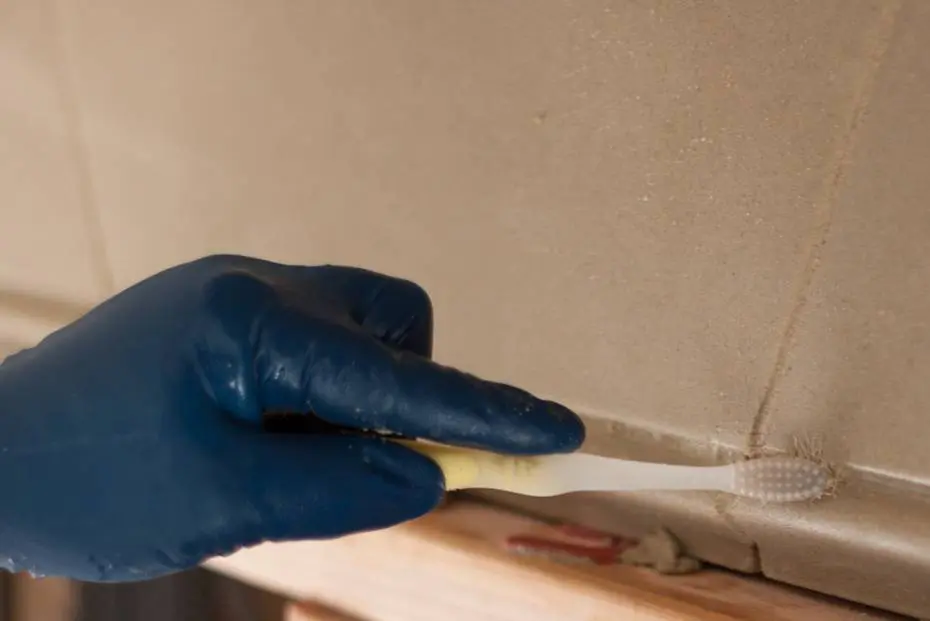
Before grouting, mask off joint edges with masking tape or see the alternative method using water. Stone is porous, if not taped, lime will leach out of joints on stone and make a very fuzzy joint. Blue painters masking tape works best, make sure stone is dry and wiped free of dust or residue so tape will stick. Press tape firmly down to ensure strong bond. Do not leave this tape on for longer than 24-48 hours.
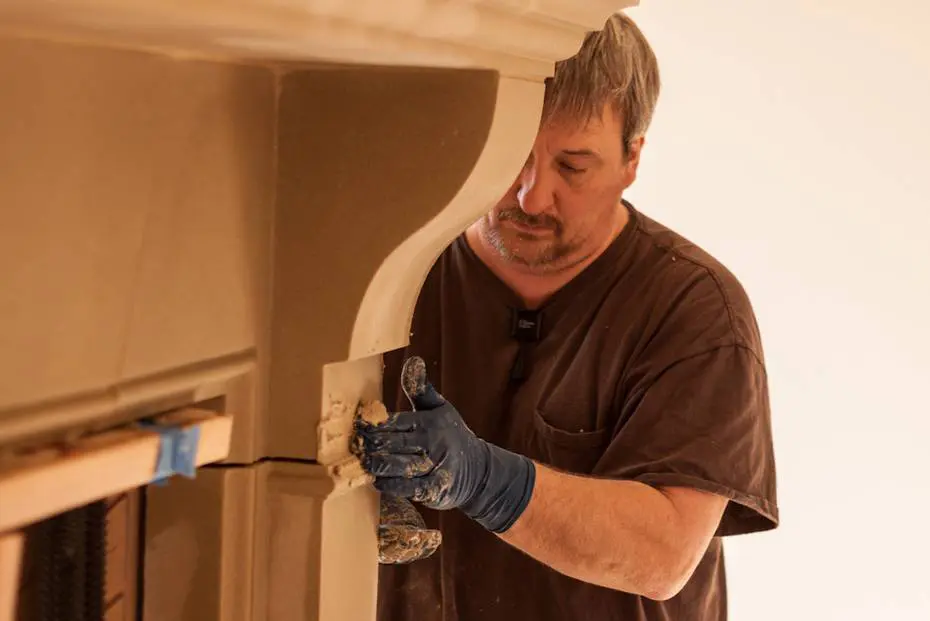
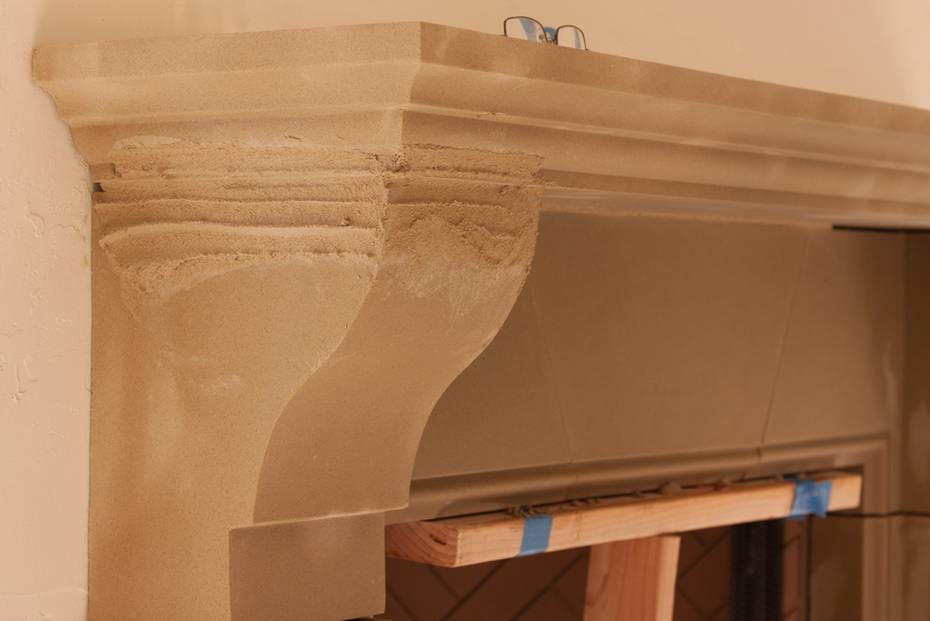
Use regular mortar for installing, leaving 1″ clear from surface then point up with the sand we have provided mixed with white mortar mix type N. Do not use grey mix. Mix 3 parts sand 1 part white mortar mix type N for point up. If you are unable to get white mortar mix type N in your area use a formula of 3 parts sand, one part lime, and one part white Portland cement.
When grout has set up somewhat and after any final pointing up is done, remove masking tape. At this time you may want to take a piece of short nap carpet or piece of burlap and burnish these joints with it. This gives a better finish and makes the joint look more like the stone. Do not rake joints.

